
Caulk belongs where siding meets trim, windows and doors, and anywhere a pipe or wire passes through the wall. It does not belong along the bottom edge of lap siding, in the gap above horizontal flashing, or in vinyl siding’s channels. Those openings are how water that gets behind the siding drains out, so sealing them can trap moisture in the wall instead of keeping it out.
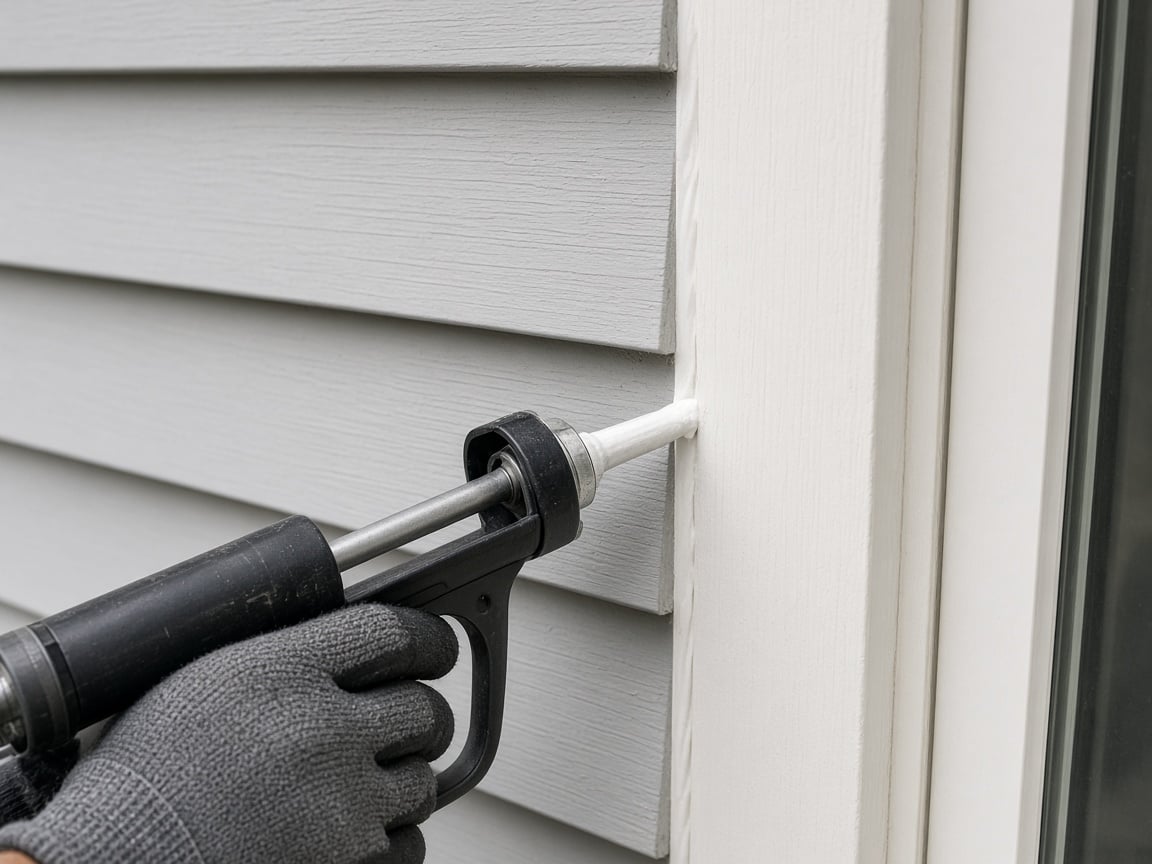
Why shouldn’t every gap in siding be sealed?
Siding is a rain screen, not a waterproof skin. Some wind-driven rain gets behind it, and the building code is written with that in mind. The City of Austin uses the 2024 International Residential Code, and its wall chapter (Austin Residential Code, Chapter 7) says the exterior wall must keep water from building up inside it in two ways at once: a water-resistive barrier behind the siding, and a way for water that gets past the siding to drain back outside (Section R703.1.1).
That second part is the one caulk can break. A tidy bead along every lap looks finished, but it can turn the space behind the siding into a pocket that holds water against the sheathing. James Hardie’s joint flashing bulletin says this plainly for its lap siding: caulking the horizontal overlap between planks is not recommended because it gets in the way of the drainage and drying built into lap siding.
In Austin, that drying matters. Summer highs here stay above 90 degrees from late May into late September, according to the National Weather Service climate summary for Austin, and the same summary describes local thunderstorms as very efficient rainmakers. A wall that gets soaked and then bakes needs a way to dry out.
Which siding joints should you caulk?
These are the joints where a sealant is normally expected, as long as your siding maker’s instructions agree:
- Siding ends against vertical trim. HardiePlank instructions call for ending each course 1/8 inch from vertical trim and filling that gap with a permanently flexible caulk. LP SmartSide calls for a 3/16 inch gap where siding meets window trim or door casings, then sealing it.
- Butt joints in some products. The code allows three ways to handle the end joints of fiber cement lap siding: caulk, an H-shaped joint cover, or a strip of flashing behind the joint (Section R703.10.2). LP SmartSide allows a 3/16 inch gap sealed with a sealant rated ASTM C920, Class 25 or higher, or a joint moulding, per its lap siding application instructions.
- Penetrations. Hose bibs, dryer vents, light boxes, cable and pipe holes. LP’s instructions say every opening must be sealed or flashed in a way that keeps moisture out, so caulk is often one layer of several here, not the only one.
Which joints should be left open?
- The bottom edge of each lap. The overlap where one course sits on the course below is a drainage path. James Hardie and the vinyl siding industry both say not to caulk it.
- The gap above horizontal flashing. Where siding sits over a Z-flashing or the top of a window head flashing, HardiePlank instructions call for a 1/4 inch clearance between the siding and the flashing and say not to caulk it. That gap is where water on the flashing gets out.
- Vinyl siding at corners and J-channel. The Vinyl Siding Institute installation manual says not to caulk panels where they meet inside corners, outside corners or J-trim, and not to caulk overlap joints. Vinyl moves with temperature and needs a 1/4 inch gap at those stops to slide.
- Weep holes and weep screeds. Brick veneer has small openings near the bottom of the wall, and stucco ends at a weep screed. The code expects both to let water out (Sections R703.8.6 and R703.7.2.1). Filling them with caulk or paint defeats them.
Does it depend on the siding type?
Yes, and the maker’s instructions win over general advice. A few differences worth knowing:
- Fiber cement with a factory finish. James Hardie does not recommend caulk at the butt joints of its ColorPlus products, partly because caulk and the factory finish weather differently. It recommends a 6 inch wide flashing behind each butt joint that laps the course below by 1 inch.
- Primed fiber cement and engineered wood. Caulked butt joints are a listed option for many products, but the caulk has to be the type the instructions name, and the gap has to be there first. LP SmartSide, for example, calls for a 3/16 inch gap at all butt joints before any sealant goes in.
- Wood lap siding. The code says to follow the maker’s recommendations; where there are none, the ends get caulked, covered with a batten, or sealed and set over a strip of flashing (Section R703.5.3).
- Vinyl. Leave it free to move. Vinyl caulked tight to trim cannot slide as it expands, and the installation manual’s gaps exist to prevent buckling and ripples.
When can you do this yourself, and when do you need a contractor?
Re-caulking a cracked joint at trim, a window casing or a hose bib is ordinary upkeep. The City of Austin’s work exempt from building permits list includes painting and similar finish work, repairing or replacing exterior trim, and replacing siding up to 128 square feet on one- and two-family homes, though exempt work still has to meet code.
It is a good do-it-yourself job when the old bead pulls out cleanly, the wood or board behind it is firm, and you use an exterior sealant that stays flexible and can be painted. Cut out the old caulk instead of piling new caulk on top.
Bring in a contractor when you find soft or swollen boards next to the joint, staining on the sheathing, paint failing in one area over and over, or caulk that someone used to fill the drainage gaps. Those are signs water has been getting in or getting trapped, and caulk alone will not fix it.
Not sure which joints on your house should be sealed?
Ridgepoint Solutions checks siding joints, trim and flashing on homes in Austin and surrounding Central Texas communities, and tells you which gaps need sealant, which need to stay open and whether anything behind the siding needs repair. Get a free estimate for a free inspection and written estimate, or email info@ridgepoint-solutions.com. You can also read more about our siding services.
Frequently asked questions
Should I caulk the horizontal gaps between siding boards?
No. The overlap where one lap siding board sits over the board below is meant to let water that got behind the siding drain out and let the wall dry. James Hardie and the Vinyl Siding Institute both say not to caulk those overlaps. Sealing them can hold water against the sheathing. Caulk is meant for the vertical joints at trim, windows, doors and penetrations, as the siding maker’s instructions allow.
Can I caulk vinyl siding to the trim around my windows?
The Vinyl Siding Institute’s installation manual says not to caulk vinyl panels where they meet J-trim or corner posts, and not to caulk overlap joints. Vinyl expands and contracts with temperature and needs a gap of at least 1/4 inch at those stops to move. If it is caulked tight, it can buckle or ripple in hot weather. Gaps at the window itself are handled by the window flashing, not by caulking the siding.
How often should siding caulk be checked?
A yearly look at the caulked joints, plus a check after a big storm, is a reasonable habit. James Hardie notes that caulked joints need periodic removal and reapplication to keep their seal. Signs it is time are cracks along the bead, caulk pulling away from one side of the joint, or an open gap where the bead used to be. Replace it by cutting out the old bead first rather than adding new caulk over it.